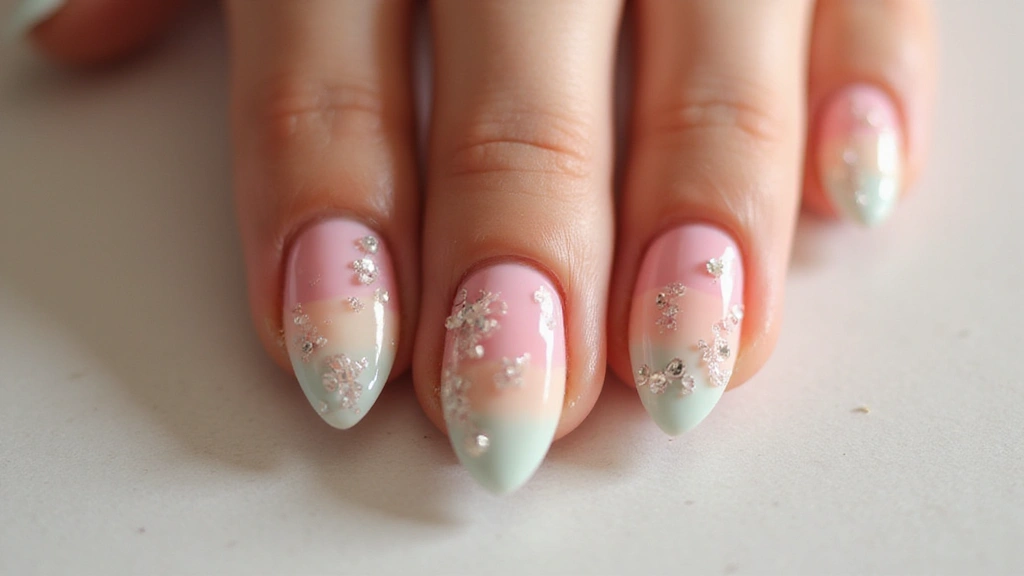
Elevate your nail game with these quick and easy tutorials that bring salon-worthy styles right to your fingertips. Whether you’re rushing to get ready for a night out or simply want a fun weekend project, these simple designs are perfect for any occasion. With minimal tools and time commitment, you’ll find a whole new world of creativity at your fingertips. Plus, these tutorials are designed for all skill levels, from beginners to seasoned nail art enthusiasts. Get ready to impress with nails that turn heads and spark conversations.
Contents
- 1. The Ombré Dream
- 2. Minimalist Lines
- 3. Dotty Delight
- 4. Striped Chic
- 5. Floral Fantasy
- 6. Glitter Gradient
- 7. Marble Magic
- 8. Negative Space
- 9. Abstract Art
- 10. Color Block Party
1. The Ombré Dream

The ombré trend isn’t just for hair; it looks stunning on nails too! This technique involves blending two or more colors for a gradient effect that’s both chic and eye-catching. To create your own ombré nails, choose a light and dark shade of the same color family, or mix contrasting colors for a bold look.
Steps:
1. Start with a base coat for protection.
2. Apply your lightest color to most of the nail.
3. Use a makeup sponge to dab the darker color onto the tips.
4. Blend the colors together by gently tapping the sponge.
5. Finish with a top coat for shine.
– For a smoother transition, use a light hand when tapping the sponge.
– Experiment with different color combinations to find your perfect match!
2. Minimalist Lines
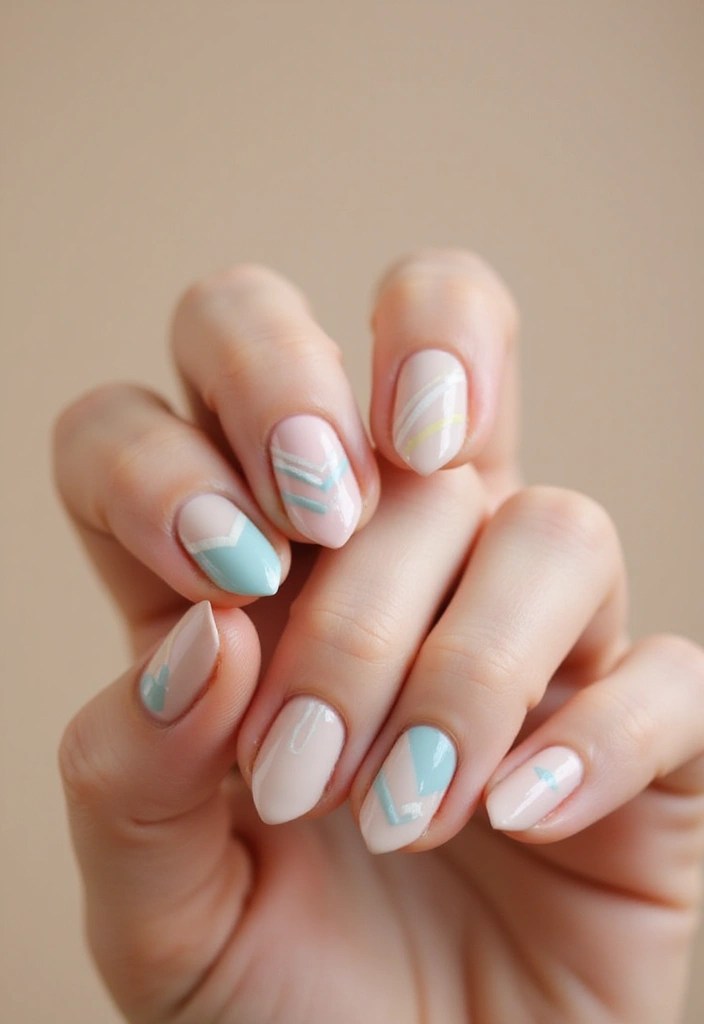
Less is often more! The minimalist lines trend emphasizes simplicity for a sleek look. This design is not only modern but also super quick to achieve. It’s perfect for those days when you want your nails to look stylish without a lot of effort.
Steps:
1. Apply a neutral base coat for a clean slate.
2. Once dry, take a fine nail art brush or a striping tape.
3. Create thin lines or geometric shapes in any contrasting color.
4. Let it dry and seal with a top coat.
– Use tape for perfectly straight lines.
– Try combining several colors for a playful twist!
When it comes to nails, remember: simplicity shines! With quick nail tutorials, you can embrace minimalist lines for a chic look in minutes. Less effort, more style – that’s the mantra for modern manicures!
3. Dotty Delight
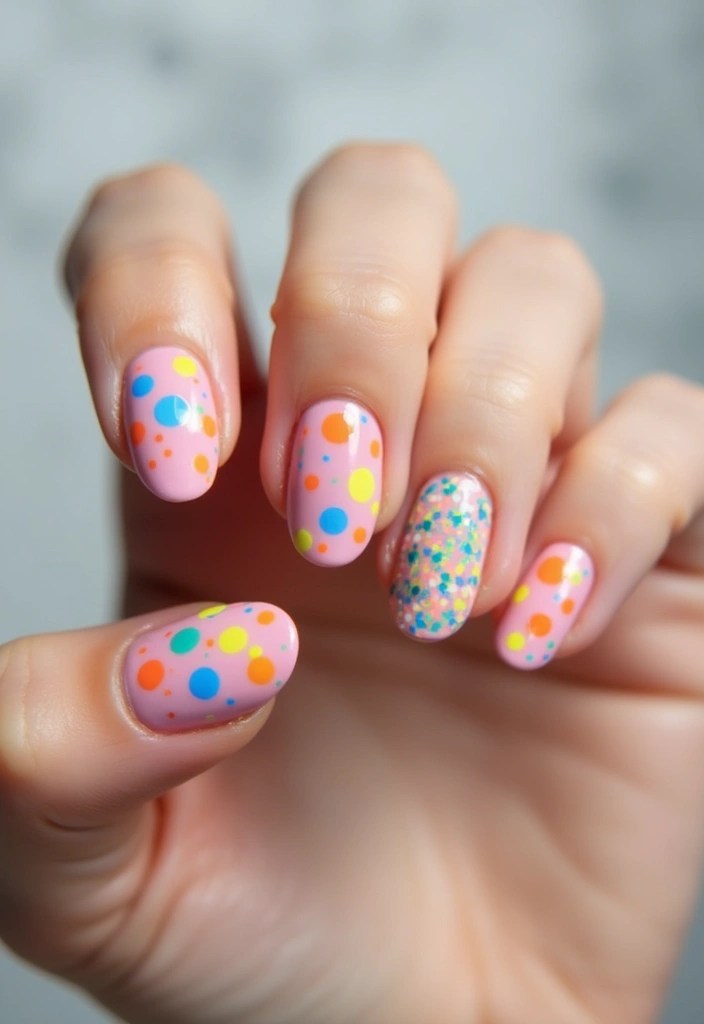
Polka dots are a fun and easy way to add flair to your nails! This timeless design can be achieved with just a dotting tool and is perfect for any occasion. The best part? It’s incredibly customizable; you can mix colors, sizes, and patterns to fit your mood!
Steps:
1. Paint your nails with a solid base color.
2. Once dry, use a dotting tool (or a bobby pin!) to create dots in a contrasting color.
3. Vary the size of the dots for a playful effect.
4. Seal with a top coat for durability.
– Make sure the base color is completely dry before adding dots.
– Play with color combinations that complement each other to make your design pop!
4. Striped Chic
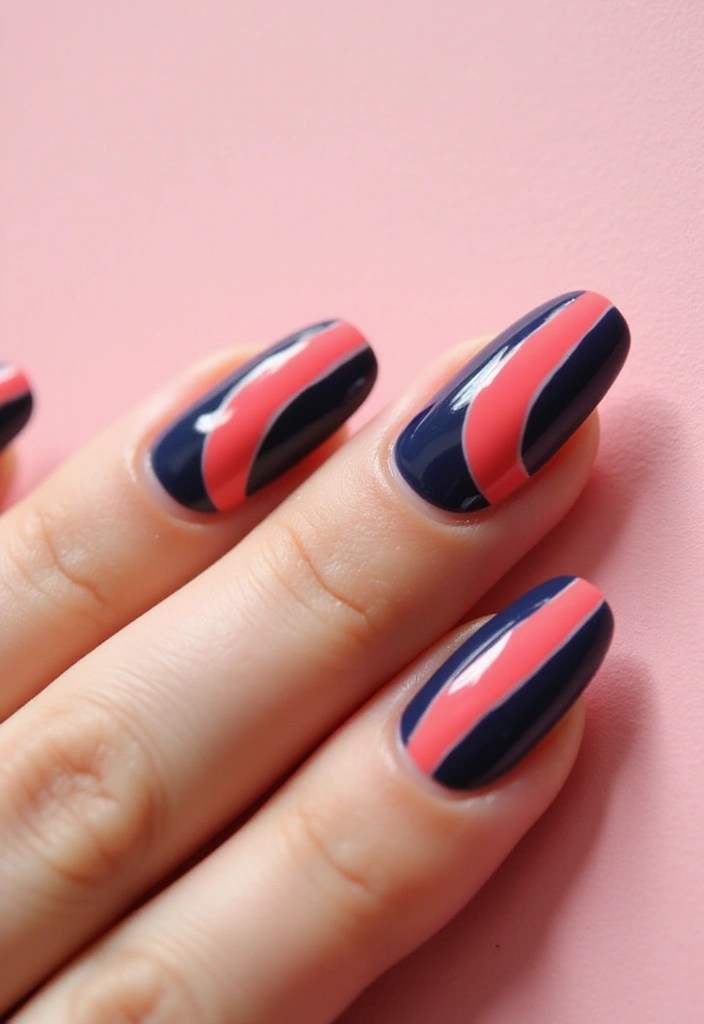
Nothing says stylish like a classic stripe! This design is great for those who want to keep it simple yet trendy. Stripes can be horizontal, vertical, or even diagonal — the options are endless!
Steps:
1. Choose two contrasting colors.
2. Apply a base coat and allow it to dry.
3. Use striping tape to create the desired pattern on each nail.
4. Paint over the tape with the second color and remove the tape before it dries.
5. Seal with a top coat.
– Experiment with different stripe widths for varied looks.
– For a more abstract feel, try messy stripes!
Stripes are the secret weapon in nail art! Quick and chic, they elevate your manicure game in minutes. Grab your tape, pick your colors, and let your creativity shine!
5. Floral Fantasy

Bring a touch of nature to your nails with delicate floral designs! Floral nail art can be simple enough to whip up in minutes while adding that feminine touch to your look. With just a few tools, you can bring a garden to your fingertips.
Steps:
1. Paint your nails a soft, pastel color as a base.
2. Using a fine brush, create tiny flower shapes with a contrasting color.
3. Add small dots for flower centers.
4. Finish with a glossy top coat to make the flowers shine.
– Use a toothpick for finer details.
– Don’t worry about perfection; a bit of imperfection makes it more charming!
A little floral flair can turn your nails into a mini art gallery! With just a few quick nail tutorials, you can unleash your inner artist and bring nature to your fingertips.
@media (max-width: 768px) { .internal-links-flex { flex-direction: column !important; } .internal-links-flex > div { flex: none !important; } }
You might also like


6. Glitter Gradient
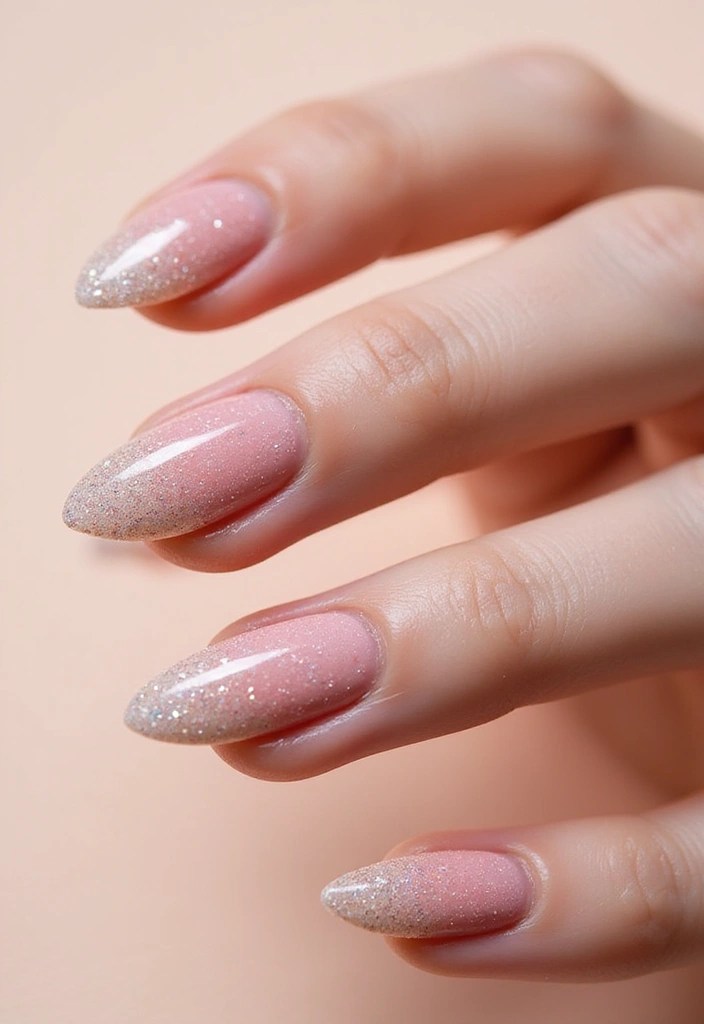
Add some sparkle to your life with a glitter gradient! This dazzling design is perfect for nights out or special occasions. Glitter gradients are surprisingly easy to create and will make your nails shine bright without taking up too much time.
Steps:
1. Start with a clear or colored base coat.
2. Apply a generous amount of glitter polish to the tips of your nails.
3. Gradually decrease the glitter as you move toward the base.
4. Seal it all in with a top coat for a smooth finish.
– Use a makeup sponge to dab on the glitter for a more blended look.
– Layering different types of glitter can add depth to your design!
7. Marble Magic
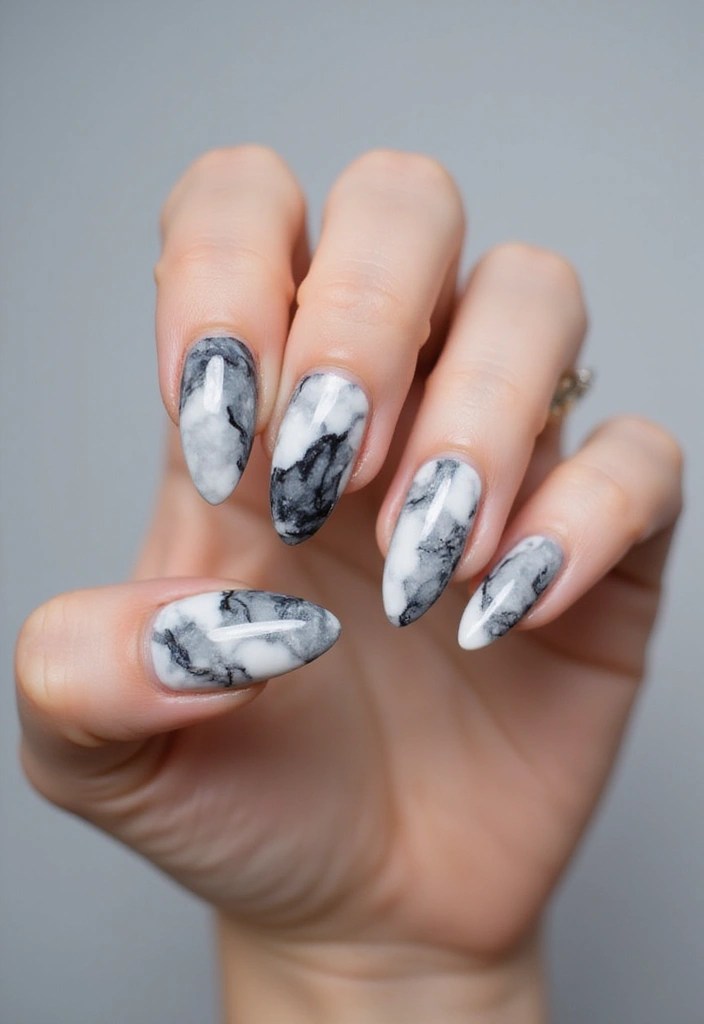
Marble nails are a head-turner and surprisingly easy to create! This design mimics the elegant swirls of marble for a classy look that’s perfect for any occasion. Get ready to impress with your sophisticated nail art!
Steps:
1. Apply a white base coat and let it dry.
2. Swirl in a few drops of black and gray polish using a toothpick.
3. Use a small brush to blend the colors together gently for a marbled effect.
4. Finish with a top coat to protect your design.
– Use a small amount of polish to keep the design from getting muddy.
– Experiment with different colors for a unique marbling effect!
8. Negative Space
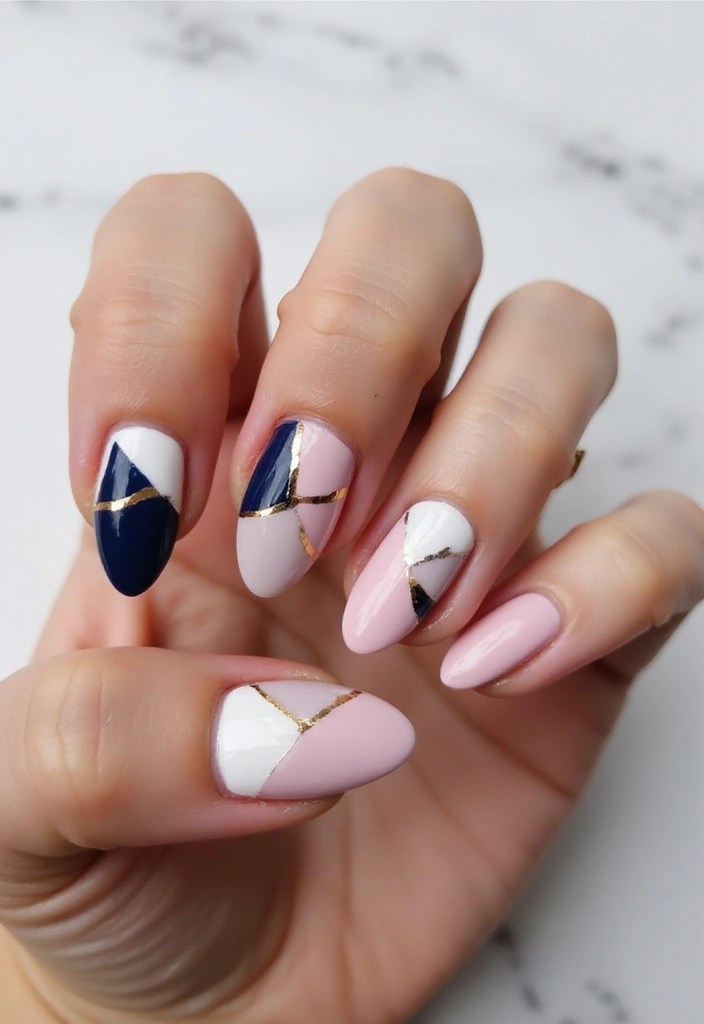
Negative space designs are all about the art of leaving parts of your nails bare to create a stunning effect. This trend is modern, chic, and super easy to achieve. It’s perfect for those looking for a minimalist yet stylish look!
Steps:
1. Apply a base coat of your choice.
2. Use tape to create shapes on your nails, leaving parts of your natural nail exposed.
3. Paint over the tape with your chosen color, then remove the tape immediately.
4. Seal it with a top coat for a glossy finish.
– Play with different shapes and patterns to find your favorite!
– Keep nails hydrated to prevent breakage and ensure they look their best.@media (max-width: 768px) { .internal-links-flex { flex-direction: column !important; } .internal-links-flex > div { flex: none !important; } }
You Might Also Like


9. Abstract Art
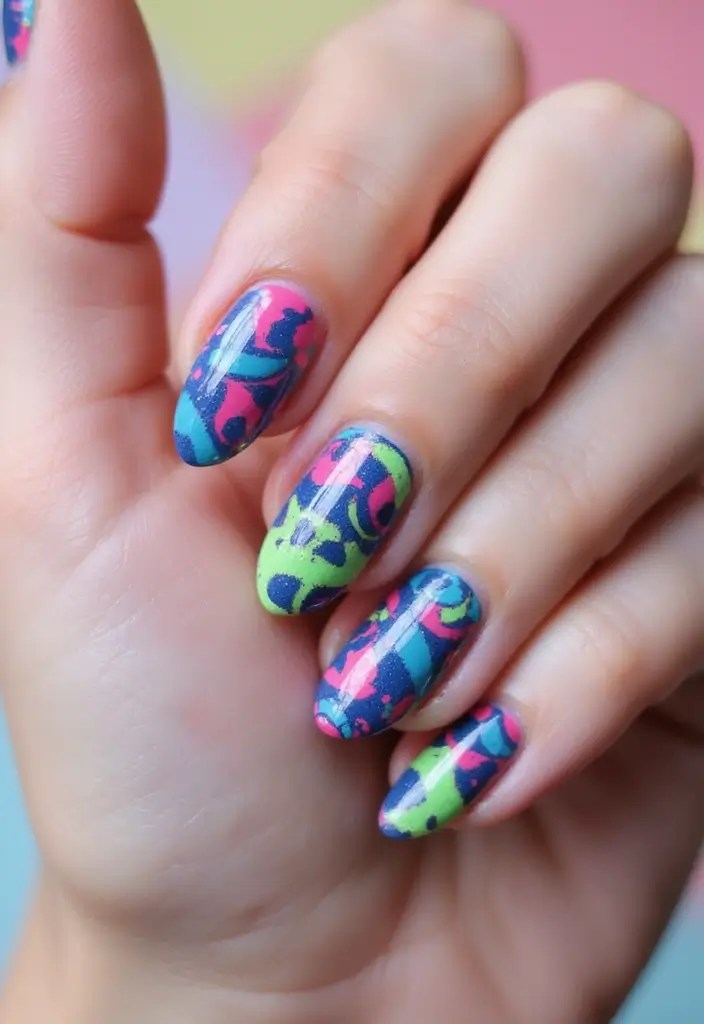
Unleash your inner artist with abstract nail art! This trend allows you to express yourself in a fun and colorful way. It’s all about layering colors and creating shapes that don’t follow specific rules — just go with the flow!
Steps:
1. Apply a base coat in your favorite color.
2. Use a dotting tool or a fine brush to add splashes of colors in random patterns.
3. Blend colors slightly if desired, but let some stand out distinctly.
4. Finish with a top coat for protection and shine.
– Don’t be afraid to try bold color combinations!
– Remember, imperfections add character to your design.
Unleash your creativity! Abstract nail art is your canvas—layer colors, create shapes, and let your personality shine. Remember, there are no rules—just let the fun flow!
10. Color Block Party

Color blocking is all about bold colors and sharp lines. This design is playful and allows you to mix and match shades to your heart’s content. Perfect for those who want to make a statement!
Steps:
1. Apply a base coat.
2. Use tape to section off parts of your nail.
3. Paint each section a different color.
4. Remove the tape before it dries for clean lines.
5. Seal with a top coat to keep it looking fresh.
– Choose complementary colors for a cohesive look.
– Experiment with different shapes and angles for added flair!
Conclusion
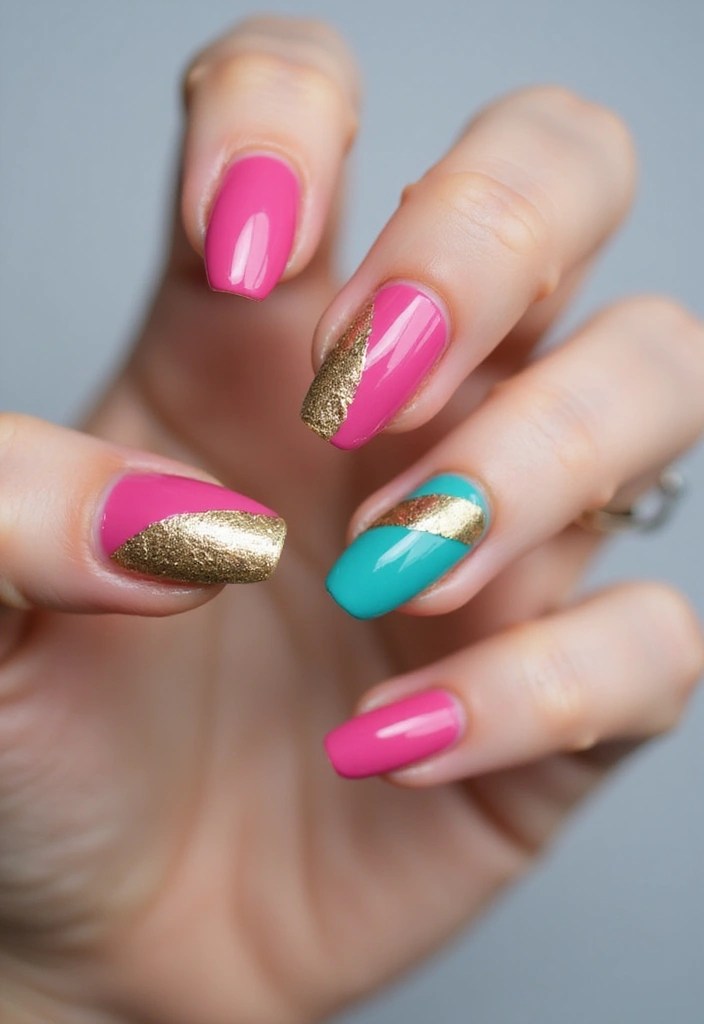
With these quick nail tutorials, you’ll never run out of stylish manicure ideas! Each design is not only simple and achievable, but they also offer a chance to express your personality and creativity. Dive into the world of nail art, and don’t hesitate to mix and match these techniques to create unique combinations. Your nails will be the talk of the town!
Frequently Asked Questions
What are quick nail tutorials and how can they benefit my manicure routine?
Quick nail tutorials are step-by-step guides that show you how to achieve stunning nail designs in just a few minutes! They help you save time while still allowing you to express your creativity and style. Whether you’re getting ready for a last-minute event or just want to refresh your look, these tutorials make it easy to elevate your manicure game without the need for a salon visit.
With easy designs** and simple techniques, you’ll find that even beginners can nail these styles with confidence!
Do I need any special tools for these nail art tutorials?
While some designs may require a few basic tools, most of the quick nail tutorials** can be done with items you likely already have at home! For example, a dotting tool or a thin brush can be helpful, but you can also use household items like toothpicks or bobby pins for detailing.
The emphasis is on **easy designs**, so you won’t need an extensive nail art kit. Just gather some nail polish and a bit of creativity, and you’re ready to go!
Are these nail designs suitable for beginners?
Absolutely! Each tutorial is crafted with beginners in mind. The step-by-step** instructions are straightforward, making it easy for anyone to follow along. Whether you’re trying the **Dotty Delight** or the **Minimalist Lines**, you’ll find that these designs are not only simple but also incredibly rewarding to create.
So don’t hesitate! Grab your nail polish and start practicing; you’ll be amazed at what you can do!
Can I customize the colors for these nail tutorials?
Yes, definitely! One of the best parts of nail art is that it allows for personal expression**. Feel free to mix and match colors to match your outfit or mood! The **Color Block Party** and **Floral Fantasy** tutorials are especially great for experimenting with different shades. You can even try seasonal color palettes to keep your manicure fresh and exciting. Just remember, the goal is to have fun and let your creativity shine!
How long do these nail designs typically last once applied?
The longevity of your nail designs can depend on a few factors, including the quality of the nail polish you use and how well you apply the techniques. Generally, if you follow the tutorials correctly and finish with a good top coat, you can expect your manicure to last anywhere from 3 to 7 days.
To extend the life of your quick nail tutorials**, avoid harsh chemicals and wear gloves while doing dishes or cleaning. With a bit of care, you can enjoy your beautiful nails for longer!
Leave a Reply